How to Build a Simple Garden Path From Start to Finish
FBTwitterReddit
video description
Rating: 4.5; Vote: 2
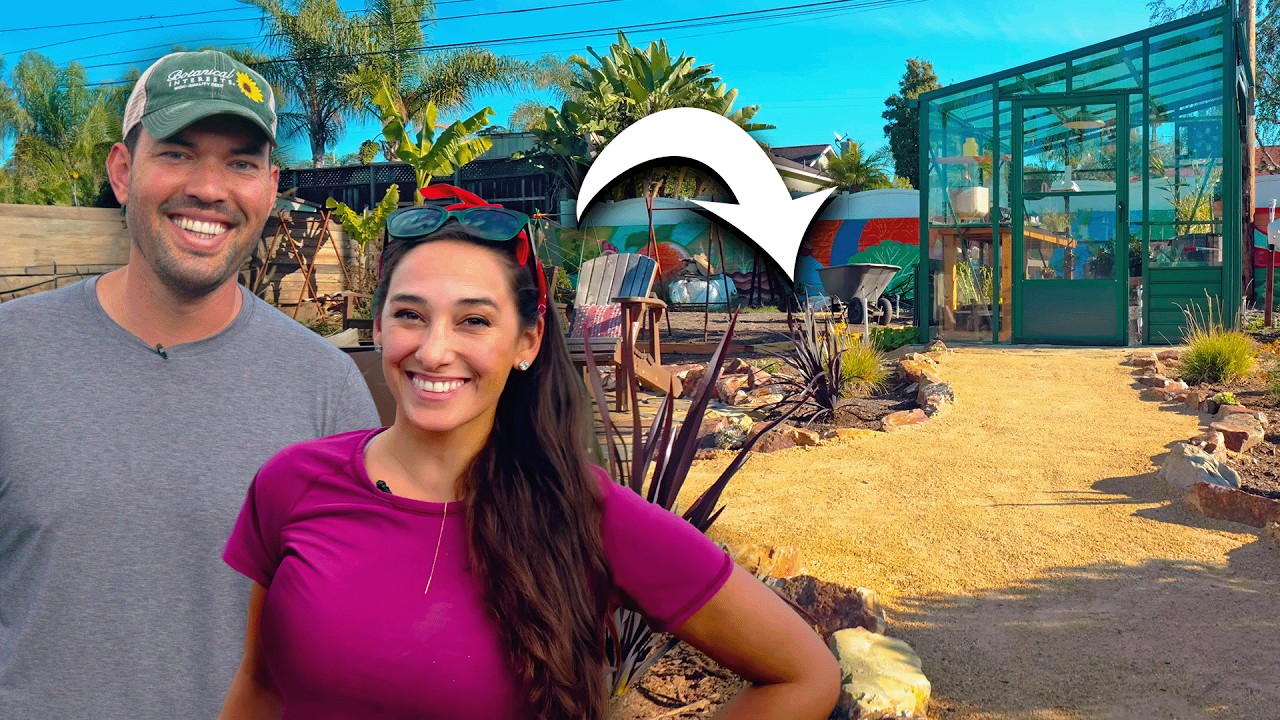
Building a garden pathway, might seem intimidating, but it's actually not that hard. So, in this video, that's exactly what we're going to show you, how to do. So, to show you how to do this in truly epic fashion, I have to bring a good friend of mine, who is a landscape designer and contractor in to help what's up Sarah. So, glad to be here.
Honestly, I've been wanting to do a garden path with you for a long time. I just get random texts from her that say we want to do a project yet. So, we've done some projects together. We did a fence at the old garden that I had, but you have actually help me with quite a few little things around here, including the pavers that we're going to connect to, this greenhouse.
So, the first question I have is, when you're thinking about designing a garden path, what do you have to consider cuz? I technically I could walk here, technically, it's a path. Yeah, technically it's a path. It's not very aesthetically pleasing. It's not defined. So, I think, what are we going to use the path for? I want to get from my sort of hardscape over there to this pond patio area. So maybe a little offset there.
Planning
And then, of course, I want to get to the greenhouse, I want in the future, maybe the, even the ability to go somewhere else, y ex it. And then I want to be able to bring a wheelbarrow to and from, as I kind of move goods in and out of the greenhouse. And I know you, your wheel barrels are probably huge. It's like 30 like 30 in, 30 FT, maybe. So, your average sidewalk is 4T.
So, we probably want to be between 3 to 4T. But let's measure that out when we get there. But design wise, because you have so many curves coming in here, I think if we didn't go with curves, it would be the wrong decision. It would just look very unnatural. Yes. So, I think we curve into here. We curve into here, creating a little planter. And then we find the width that you want.
And then mark out this side here. Okay, so, step one is probably just clear the mulch out, clear the mulch out. And then we can spray it. Okay, let's go. Okay, so, we're cleared out on the mulch. Sarah. And you gave me this pro tip, which I did not think about to wet the ground, so that paint will actually stick. And it doesn't kind of blow away. Yeah, it'll stick.
Prepping
And it'll make it a lot more clear to see. All right. I have an idea of where I think the curve should go big, like wide, sweeping and inviting curves are the way to go. So, oops, something like that. Yeah. And then I think we define this side as well. And we just come off of this edge. Yeah, this little entrance point right here, right? Yeah.
And I think giving us like a twot planter is great. Okay. So, we have this area to play with, to plant out, which will break those borders. Yeah. I just think adding some softness in between would look really nice. Sure. Okay. I like that. So, that could eventually shoot into a new path if you wanted. Now, here's where we want to figure out our distance. So we can measure it out with a tape.
And, or bring your wheelbarrow in. I think, let's do a tape minimum. So, you said the sidewalk, a sidewalk is 40. We do 42. That'be three and a half2. Sounds good? Yeah. So, I'll just kind of, so that'be there. Y mark that. Okay. So, then we want to bring this off in an pleasing way to kind of come over here, right? M. The core components of a garden pathway are what.
So we need our infill material. Yeah. And the edging material. What you walk on? Yes. On? Yes. So, what you walk on is the infill. Yeah. And what you have on the outside is the edging for most garden paths. So, you could use a rock edge. You can use brick-edge. You can use composite edging. You could buy, there's like some cheap black edging. You can buy, I don't recommend doing that. Never holds.
So, you have a bunch of different options of what you want to hold in the infill with. Okay, and they are important. So, I like, natural, we sort of have a rock edge right there. Let's stick with rock. And we're going to do decomposed granite on the inside. We actually want to make sure we're not going to hit any utility. So, I think there might be irrigation through here. We just want to dig carefully.
Trenching
And anytime you dig, you just need to be conscious of it. Yeah, I'I've been there before. So I'm trying to dig down, like what? Halfway about 6 in. Okay, try to try to set one of these in and see how it falls. Yeah. So, is there something to, like, it's a bit of an art right to the placement here, and I'm kind of picky, I'm not going to lie.
So, are you more of a flat edge against? Or would you prefer like this rocky angle? I kind of like the flat edge, but no matter what, they're all unique, so, yeah, it's going to just vary. So if I'm in here, I'd say, yeah, that's good. But also thing, things I look for is how they key into each other. Yeah. Yeah.
And so, you might be getting a workout trying to Jenga this in huh a little bit. Like if you can kind of put pressure and like find one that slopes this way. Yeah. Now, that's getting kind of technical, but the more that you can kind of puzzle them in together, the stronger they'll be together. So, I could go ahead and say, like, hey, this is my end point right here, if I want. Sure, right?
The only thing I don't like about this is it scoops straight down to about level here. Yeah. And you want your path to be level with here. So, now, when we fill this in, you're going to have a gap here. Doesn't mean that we can't fill in with a baby rock later. Problem, sal. Yes, that's better. Yeah. Just like that up, like that. There we go. Yeah. Okay. All right.
So, I'll clear the rest of this out to about this width. So, this is a great time to add a sleeve, aka a pipe, so that you can run future lighting or irrigation, and that way you don't need to dig up the path in the future. Okay, I mean, this looks pretty good to me, sarah. I like the curves. Nice little natty curve. Missing a couple stones, which we'll pick up tomorrow.
Edging
But we do have this to finish the landing. Yes, right? And we're going to do some flagstone guys, which I'm a huge fan of, but it doesn't like if we were to just put it right here, it would not look very good. You'd have to like step up into this. So we want to kind of match the surface. Yep. So, we're going to grade the decomposed granite up to here.
Flagstone
So for our flagstone base, we'll just add two or three inches of decomposed granite compacted, and then we'll add our flagstone. We'll level them, and then infill them with decomposed granite. So, we're just sort of puzzle piecing that together. And only using decomposed granite, which is like a good sort of makeshift diy base. Yeah. And the flag zone is very forgiving. You can be very organic. You can do tight joints.
It just kind of depends on what aesthetic you want. Okay, cool. Well, let's hit it. Day to baby. We're back. We let the water soak into the decomposed granite. Now we can tamp it down Once that's done, we'll lay the flag stone. And once that's done the path exactly. We got our flagstone landing in. Now, it's time to focus on our path. The edging is in and it looks really good.
Decomposed Granite
However, there's a few spots of the path that are kind of soft. And this is not ideal when you're trying to set a path, there's a lot of mulch soil here. So, what I want to do is bring in a base material that's going to help stabilize this for our path. We're particularly going to use a class 2 base, which is 3 / 4 gravel. And, it also has fines in it.
And, when you tamp it down, it gets really stable. Which will be great for this. Another thing we need to do for our path is to lower the grade. We want to meet the flagstone grade up there. Area is actually pretty good. But we have pavers and we have flagstone here, that we need to drop the soil about 3 in and then meet the grade over here.
So, basically, we just need to dig down a little bit to make room for our infill. All right, for the infill, we decided to use decomposed granite, which is the same material we use for our flagstone patio leveling. And infilling in between the stones. Now, decomposed granite is a really cool material, because it's actually really affordable. It's diy-friendly. And, it comes in a few different colors.
So, for this pathway, we're infilling it in here, over time. Decomposed granite will continue to compact into itself, making it a great material for a garden pathway. There are two popular types of decomposed granite. One is just natural, or you get the naturally weathered, decomposed granite granulars, you put it in and you let it be. However, there's another option that you can get it with a stabilizer.
And the stabilizer is either a polymer, a resin, or celium husk, which is the most popular mixed into the mix when you get it from the stoneyard. And you bring it in and then you can PCT it that way, it makes it a little bit more like concrete, but it's not as hard as concrete.
So, depending on what you're using it for, since this is a casual garden pathway, we're just using the natural material by itself. Without the stabilizer. Another thing to consider when using decomposed granite is it's really good for aid climates, but it might not be the best material choice. If you're, say in Washington, or an area that rains a lot, and it's moist outside, you get a lot of snow.
You might consider using something like a smaller gravel or something. Instead, that's pretty much all there is to it. Now, we're going to start grading. When you lay out your decomposed granite. You want to screed the top. So, I started with a pile here, and then I shoveled it out a little bit. And now, I'm using a 2x4 to pull the excess material down into this area.
Grading & Screeding
And what it does is it gives me a nice smooth ramp, which will be a lot easier to tamp down later than leaving it all undulated like this. And also, when you're doing decomposed granite, we're doing it straight on the grade, because I actually like that the decomposed granite is going to work its way into the soil and create a nice bond between the two. I think that's great stability.
However, if you've seen people do it with landscape fabric, that's correct too. So you can put landscape fabric, and then you decompose granite. It's just not my preferred way to install. Okay, we have the basic pathway in place. It needs to be tamped down a little bit more, probably needs to settle a little more. It needs to dry out. So, while this dries out, we got a couple plants.
Results
No project is complete here, at the epic homestead without putting a couple plants in. So, what's nice is now that you have a pathway, you have defined areas where you won't be walking totally, aka, you have little pler beds. I've been wanting some plants here for a long time, me too. And we can soften up this edge. We have a big old pathway here. We have a big old patio here.
Put a bunch of cool stuff in here. Totally, let's get to, it's been a couple days. The day. After we built this, it rained, actually, pretty crazy. Like, about an inch of rain, which is crazy for us here. And I didn't see any wash away or anything like that. Yeah, we really didn't have any issues. But if you did, it's good to keep like a five gallon bucket to the side of extra decomposed granite.
And you can always just like fill it in hand. Just kind of like patch it and slim it down. So, it's easy to build and it's easy to repair if you had to. Yeah, I mean, I'm honestly extremely pleased with this path. We've got some more paths coming in soon. Hopefully, this video helped you to do a simple, beautiful diy path that you can put some beautiful landscaping in. Thank you, sarah, for helping me out. You'll see her soon on the channel This season. Good luck in the garden. Keep on. Growing. Date: 2024-01-19
megaflux7144 no. you may as well have just paved over it. like. i want my entire yard to produce oxygen, so i would rather just throw clover seeds where i want the path to go than put all sorts of rocks that are just trashy. atleast that way its feeding the bees. it feels like a sin to ADD rocks to a garden considering how many ive had to remove to put the garden there in the first place.
reply
queueeeee9000 Awesome video! Getting ready to try to make a simple path for the purpose of leveling the garden area. Mother can't walk on the sloped side, so we have to do something like this. You guys should start uploading in 60frames/sec. It would look so much better!
reply
italiana626sc That looks pretty doable by just about anyone. The clear instruction in the captions was really helpful. It looks so good! Also, Sara seems really cool and very knowledgeable - she's a great addition to the 'Epic Gardening Universe'!
reply
herbwitch5681 I’m repurposing an old caliche driveway, using it as the base layer for a flagstone patio. There’s a thin layer of leaf mold on top that the stones settle into, then I plan to use decomposed granite between the stones.
reply
greglambert3555 Good timing, I am planning a pathway through my fruit trees, one tip if you live in an area with Gophers like where I live, Lakeside CA, put down Gopher wire mesh along the path
reply
juliehorney995 Loved this video! A curved path from our driveway to our shed is on my project list for spring! I'd like to hear more about applications in the north where the ground freezes.
reply
heidicole2296 I have a decomposed granite pathway through my garden and i cannot get it clear. Weeds, etc are constantly popping up in it. Id love tips to stop that from happening!
reply
MsArtistwannabe The size of the rocks used in the border would keep me from doing this myself. But it looks fabulous. I’ve always been a fan of how the dg looks installed.
reply
apike_72 Kinda wish the pathway tied into the other path Jacques helped make while you were away. Otherwise it looks really nice! Can't wait to see how it progresses
reply
scoobydoo5447 Build a simple garden path, it’s not that hard, just bring in a professional landscape designer and contractor. Looks good though.
reply
lyndshurt This was very timely for me! Thanks Kevin. I enjoyed hearing your friend teaching about landscaping. Would love to see more of her!
reply
iartistdotme Oh man, wish you were located in Florida so I could learn how to make a path with all our rain. It looks wonderful and bigger!
reply
matthysloedolff Every time I watch one of your videos the garden just gets more epic. That pathway looks really nice, Eric. I mean Kevin.
reply
DeomeYT Watching Kevin feels like playing Gardenscapes. Every day something new is unlocked in the homestead. Love from the Philippines
reply
epic_gardening Looove you guys, thank ya'll for inspiring me to grow my pumpkin/watermelon vines this season. Greetings from Brazil reply