How to preview deleted files before recovery with Disk Drill - CleverFiles
video description
Date: 2022-03-21
Related videos


Comments and reviews: 4
Ivy
hey adrian, i recently moved my photos taken on my dslr on my mac onto my hard drive, but recently noticed one folder of photos on my hard drive comes up as -zero bytes- and the photos say they were created in 1980, and modifed in 1984. i'm currently using disk drill to find these photos but is there an easy way to do this? the photos are under IMG_3789 etc.. i djust don't know if i'm looking in the right place. currently half way through scanning the APPLE SSD but nothing so far. so far every file i've clicked has not been files i've downloaded, just lil code things
reply
Campervan
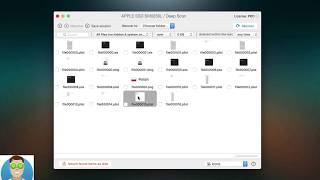
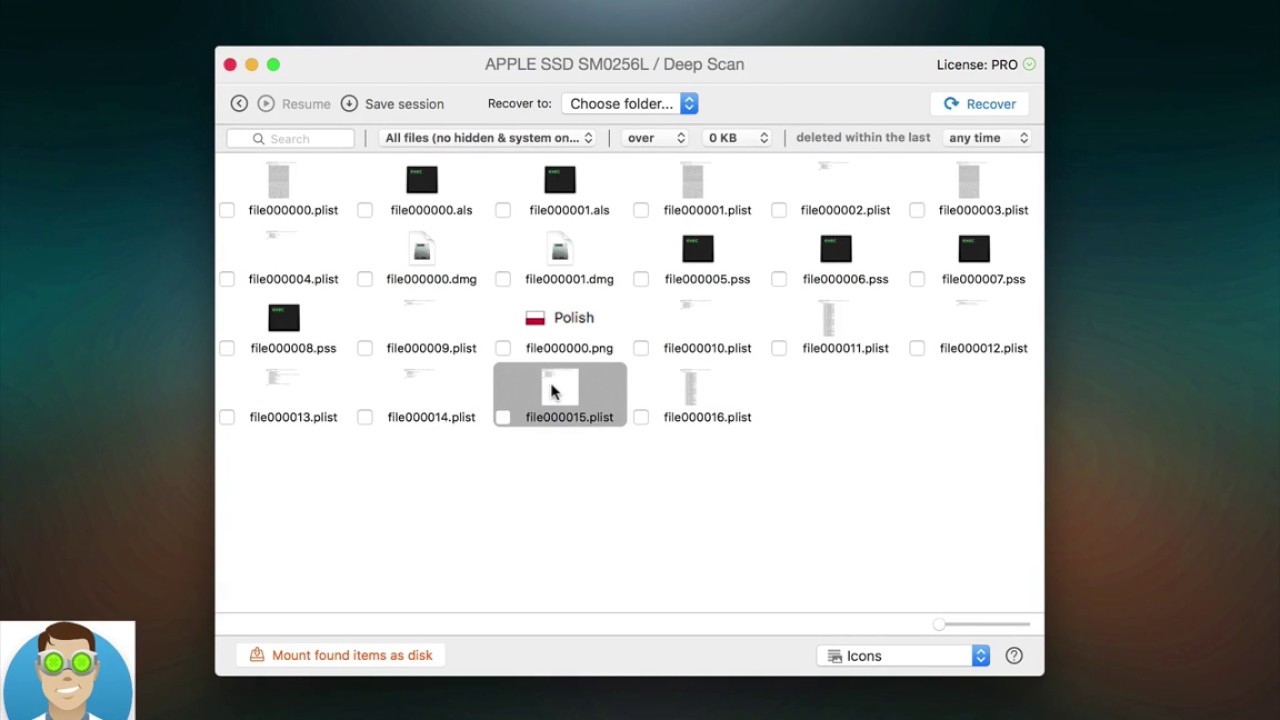
The main problem with the software is no file names. Its like going into a city library that contains 350000 books that have been scattered accross a space the size of a foorball field, then trying to find one book, that has also had its name erased. Impossible. You would be there for months trying to find the file you want.
reply
APRICEPRODUCTION
Can't seem to preview any AVI recovered, doing so on the latest iMac when you click preview it brings up the window with the file name but doesn't preview any of the videos recovered?
reply
Can't seem to preview any AVI recovered, doing so on the latest iMac when you click preview it brings up the window with the file name but doesn't preview any of the videos recovered?
reply
Gonza
How do i check this if I cant turn on the PC? It's all-in-one, should I take the HD and somehow connect it to another PC?
reply
How do i check this if I cant turn on the PC? It's all-in-one, should I take the HD and somehow connect it to another PC?
reply
Add a review, comment
Other channel videos