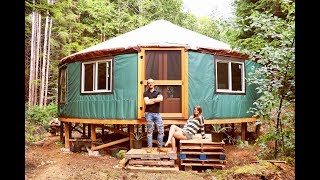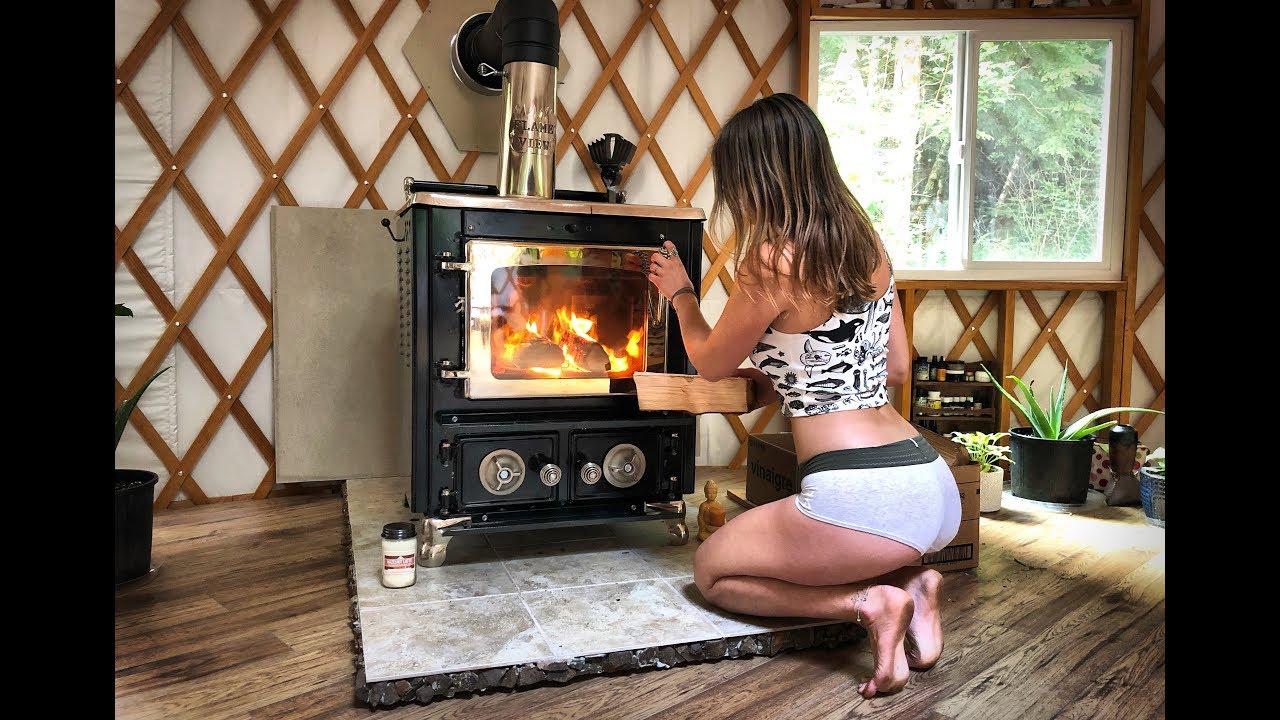
Mind Blowing YURT in the FOREST - Off Grid Wood Stove & Chimney - Ep. 30 Part 2/3
video description
Date: 2022-06-23
Related videos




Comments and reviews: 9
mike
Ha you two. man I now what it's like to do what you are doing. (did it my self back in the 70) in Oregon.
Being someone who has heated a home with just a wood stove, may i suggest you look into building a sand stone wall behind the stove and even under it to suck up the heat of the stove when its hot and then when the fire goes out at nigh the het trapped in the sand stone will keep you nice and worm threw out the knight.
You can also rap soft copper pipe around the chimney and have all the hot water you ever won't for your shower.
lots of you tub shows to show you how to do it. but I had to do it the hard way. lol
Keep up the great shows and do your selfs a fever and make a wood fired hot tub to sooth thoughts shore muscles you two will have.
reply
Ha you two. man I now what it's like to do what you are doing. (did it my self back in the 70) in Oregon.
Being someone who has heated a home with just a wood stove, may i suggest you look into building a sand stone wall behind the stove and even under it to suck up the heat of the stove when its hot and then when the fire goes out at nigh the het trapped in the sand stone will keep you nice and worm threw out the knight.
You can also rap soft copper pipe around the chimney and have all the hot water you ever won't for your shower.
lots of you tub shows to show you how to do it. but I had to do it the hard way. lol
Keep up the great shows and do your selfs a fever and make a wood fired hot tub to sooth thoughts shore muscles you two will have.
reply
rb67mustang
12: 34, Yes, the camera shows your breath in the cold Yurt. That's kind of surprising to be that cold in June, but you are in Canada. I wonder what the winter will be like? I really like the woodstove. It makes me think back almost 40 years ago when I was a teen and my Dad bought an old fixer-upper house. The heating system wasn't very good so he decided to tear it out and use wood to heat the house. OMG, it was so much work cutting and splitting wood. At least my Dad built a hydraulic wood splitter so we didn't have to use an axe the way I see Jake doing it. In time, I see the two of you with equipped with a wood splitter, a Backhoe, and other machines so Jake doesn't wear himself out. I wish you the very best in your rainforest paradise.
reply
12: 34, Yes, the camera shows your breath in the cold Yurt. That's kind of surprising to be that cold in June, but you are in Canada. I wonder what the winter will be like? I really like the woodstove. It makes me think back almost 40 years ago when I was a teen and my Dad bought an old fixer-upper house. The heating system wasn't very good so he decided to tear it out and use wood to heat the house. OMG, it was so much work cutting and splitting wood. At least my Dad built a hydraulic wood splitter so we didn't have to use an axe the way I see Jake doing it. In time, I see the two of you with equipped with a wood splitter, a Backhoe, and other machines so Jake doesn't wear himself out. I wish you the very best in your rainforest paradise.
reply
blogs
ignore the click-bait comments, its just ignorant. On a positive note, use small wood poles with a bolt going through the pre-drilles holes in the yurt truss to lower the wire you installed to make the pan more easy to access. They look a little to high to make this set-up truly functional. But I like what your doing so far. Keep the video's coming, you both are amazing!
reply
ignore the click-bait comments, its just ignorant. On a positive note, use small wood poles with a bolt going through the pre-drilles holes in the yurt truss to lower the wire you installed to make the pan more easy to access. They look a little to high to make this set-up truly functional. But I like what your doing so far. Keep the video's coming, you both are amazing!
reply
Brandon
Hey Jake didnt read the other comments the coupling you put in the stove exhaust shouldn't be there only becuase that give a catch for soot to sit. The 90 you put on should have been crimpled so that it's one fluid transition outward. Just thought I would say something. Thats how I do it in the hvac industry with oil and gas boilers and water heaters
reply
Hey Jake didnt read the other comments the coupling you put in the stove exhaust shouldn't be there only becuase that give a catch for soot to sit. The 90 you put on should have been crimpled so that it's one fluid transition outward. Just thought I would say something. Thats how I do it in the hvac industry with oil and gas boilers and water heaters
reply
Roger
I know you've been told this numerous times but your concrete mixing is cringe worthy. The amount of water you put in is rendering your concrete useless. The drier the mix, the better. it takes more work to mix it dry but you are just kidding yourself with that mixing. Love everything else about your videos and I'm a big fan of you 2.
reply
I know you've been told this numerous times but your concrete mixing is cringe worthy. The amount of water you put in is rendering your concrete useless. The drier the mix, the better. it takes more work to mix it dry but you are just kidding yourself with that mixing. Love everything else about your videos and I'm a big fan of you 2.
reply
Ib
Ib Nissen I have been watching you guys, doing a good job -mostly-, Jake you need to get someone to teach you to sharpen the chain on your chain saw, suggestion get your self a couple of spare chains ready to go then just change and file/sharpen the other one in the evening, should not take you more than 5 - 10 minutes. enjoy your videos
reply
Ib Nissen I have been watching you guys, doing a good job -mostly-, Jake you need to get someone to teach you to sharpen the chain on your chain saw, suggestion get your self a couple of spare chains ready to go then just change and file/sharpen the other one in the evening, should not take you more than 5 - 10 minutes. enjoy your videos
reply
Chris
Good job Jake. You two have a special relationship. Nice to have such a great friend in one another and be able to build a new life together. The latter is almost non-existent in today's american society. One big ridiculous rat race to no end. It's great that you two get to enjoy your life with one another and are able to do this.
reply
Good job Jake. You two have a special relationship. Nice to have such a great friend in one another and be able to build a new life together. The latter is almost non-existent in today's american society. One big ridiculous rat race to no end. It's great that you two get to enjoy your life with one another and are able to do this.
reply
susan
wonder where you get all of your money to buy a brand new wood stove?
wonder where you get the money to buy a truck and boats and go on airplane rides?
wonder where you get the money to buy a yurt?
wonder where you get all your money to ship stuff to your so called off grid living?
hmmmmmmmmmmmmmmmmmmmmmmmmmm
reply
wonder where you get all of your money to buy a brand new wood stove?
wonder where you get the money to buy a truck and boats and go on airplane rides?
wonder where you get the money to buy a yurt?
wonder where you get all your money to ship stuff to your so called off grid living?
hmmmmmmmmmmmmmmmmmmmmmmmmmm
reply
jbyrd1982
I wonder if he knows chain saws don-t need to be pushed and pulled like a manual saw
Lmao it is supposed to do the work for you. Judging by the outfit has to be 1st time with one in his hands. Either way he walked away with all his body parts so I guess it was a win.
reply
I wonder if he knows chain saws don-t need to be pushed and pulled like a manual saw
Lmao it is supposed to do the work for you. Judging by the outfit has to be 1st time with one in his hands. Either way he walked away with all his body parts so I guess it was a win.
reply
Add a review, comment
Other channel videos