In this video tutorial you are going to learn how to use and create shortcut keys in word.
In this tutorial you are going to learn first how to use Microsoft Word shortcut keys and then how to create your own.
Step # 1 -- Exploring Current Shortcuts
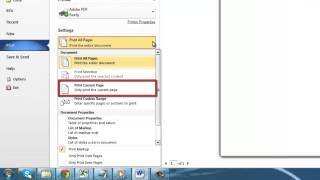
Let's have a look at some of the most useful shortcuts. First, press Control and P on the keyboard and the Print area will appear, you can use this to set your print settings and then print the document. To exit this window and return to the document you can use another shortcut key, Escape. Another popular shortcut is Control and A which will select everything in your document.
Step # 2 -- Viewing All Current Shortcuts
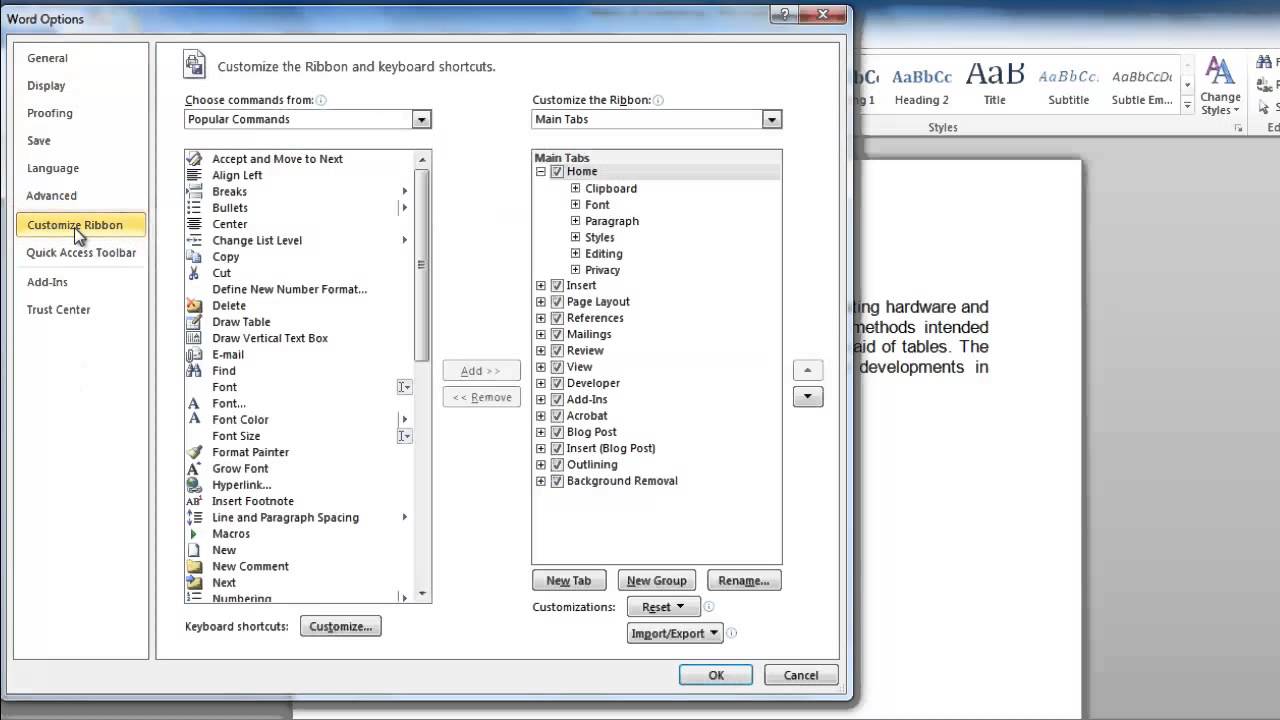
Most of the most popular functions in Word already have shortcut keys associated with them. You can see these by clicking File then Options. In the new window click Customize Ribbon on the left and in the frame on the right click the Customize button next to Keyboard Shortcuts. In the window you can see each shortcut by clicking on a category, then a command and below these windows details of the shortcut will appear in the Current keys box.
Step # 3 -- Adding a Shortcut
Now, let's have a go at creating our own shortcut. Select a category and then a command that currently doesn't have a shortcut -- here we are creating one for adding a digital signature to a file. Click into the Press new shortcut key box and enter the combination that you want to assign to this command. Click Assign, Close then OK. Press the command you just assigned and the function will run -- here Word starts to create a digital signature and that is how to use and create your own Microsoft Word shortcut keys
Engineering: i got a laptop from an ebay seller he ripped me off and frauded with me. He gave me a broken laptop with disabled software now do you know how i can open microsoft word without opening the windows button or using icons from desktop Date: 2023-07-08