Hand Drill Friction Fire - From Agony to Ember (Abriged Version)
video description
Date: 2021-05-17
Related videos


Comments and reviews: 7
David
Great determination! It was cool to see your form slightly improve more and more with each failure. I've gone through a similar process myself and found that mullein is a real pain in the ass for hand drill because the -hot spot- is close to the center of the pit and it's difficult to get that final push to transfer the heat all the way to the dust pile to ignite the coal. I've had MUCH more success with goldenrod because the -hot spot- is already on the outside of the base, so the final push to ignite the coal is much much easier. I'd recommend it if you can find some in your area. We have tons where I'm at in the Midwest and there's lots of it dead standing in large groups right now. I'd love to see you give it a go with goldenrod to see how you compare the two! ;)
reply
Great determination! It was cool to see your form slightly improve more and more with each failure. I've gone through a similar process myself and found that mullein is a real pain in the ass for hand drill because the -hot spot- is close to the center of the pit and it's difficult to get that final push to transfer the heat all the way to the dust pile to ignite the coal. I've had MUCH more success with goldenrod because the -hot spot- is already on the outside of the base, so the final push to ignite the coal is much much easier. I'd recommend it if you can find some in your area. We have tons where I'm at in the Midwest and there's lots of it dead standing in large groups right now. I'd love to see you give it a go with goldenrod to see how you compare the two! ;)
reply
Stamm
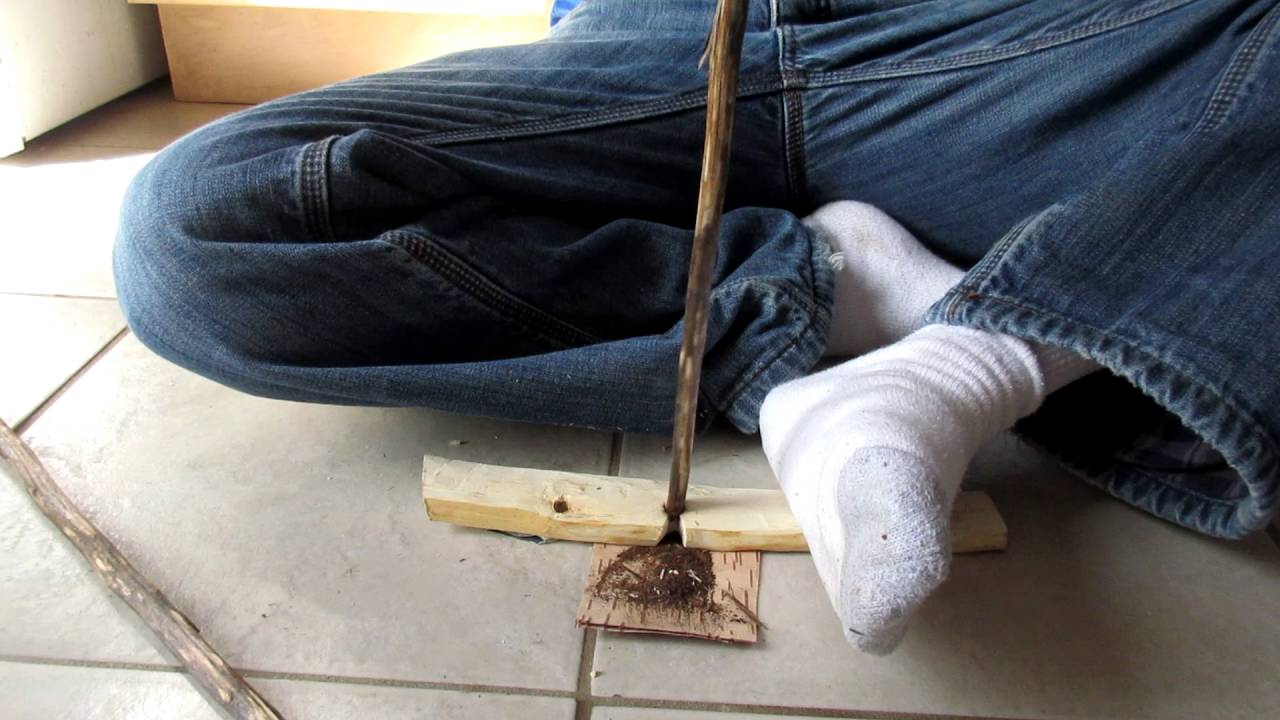
Ok 2 things I could see, 1. the not should face you. 2. triy to use the whole hand, that will make your strokes longer, you should have smoke after thee strokes. Oh ja the bord should be hard as a rock. And the whole must be closer to the edge of the bord, your dust can not breath. If you start to hear that itshy nois, start to sharpen your spindel so it runs better. And pleace cleen the spindel from bark, you can see that strings of the bark are skratshing your dust away, no good.
Ps. Good job Brother, how are your hands? ;) some people make it look so easy, not me and and you, but you are the kind of not giving up, as tha amount of drill dust really showed
your Stamm
reply
Ok 2 things I could see, 1. the not should face you. 2. triy to use the whole hand, that will make your strokes longer, you should have smoke after thee strokes. Oh ja the bord should be hard as a rock. And the whole must be closer to the edge of the bord, your dust can not breath. If you start to hear that itshy nois, start to sharpen your spindel so it runs better. And pleace cleen the spindel from bark, you can see that strings of the bark are skratshing your dust away, no good.
Ps. Good job Brother, how are your hands? ;) some people make it look so easy, not me and and you, but you are the kind of not giving up, as tha amount of drill dust really showed
your Stamm
reply
Adventure
Awesome work. I had a hard time taking a break at first. lol after beating the hell out of my hands a few times it became easier.
Mullien is by far my favorite spindle. it has worked well on cedar, hemlock, willow and balsom fir. I never had much luck with the seated position. one I changed to a kneeling position my success jumped. I just found it easier to control the down pressure. It also allows you to engage less muscles all you have to do is lean forward instead of pushing down. Saves energy for those stubborn coals.
good to see you in action brother. congrats
reply
Awesome work. I had a hard time taking a break at first. lol after beating the hell out of my hands a few times it became easier.
Mullien is by far my favorite spindle. it has worked well on cedar, hemlock, willow and balsom fir. I never had much luck with the seated position. one I changed to a kneeling position my success jumped. I just found it easier to control the down pressure. It also allows you to engage less muscles all you have to do is lean forward instead of pushing down. Saves energy for those stubborn coals.
good to see you in action brother. congrats
reply
Deranged
Excellent work my friend I have yet to get a hand drill fire going. I would recommend making the board a bit thinner so you don't have to build up as much dust. I've learned this by making many bow drill fires. Now you have inspired me to try the hand drill. The price you pay for primitive fire. Damn those hands look beat my friend. Now that's how it's done! On to the next video.
reply
Excellent work my friend I have yet to get a hand drill fire going. I would recommend making the board a bit thinner so you don't have to build up as much dust. I've learned this by making many bow drill fires. Now you have inspired me to try the hand drill. The price you pay for primitive fire. Damn those hands look beat my friend. Now that's how it's done! On to the next video.
reply
Jason
I haven-t tried this method or the bow drill but I think the bow drill looks a lot easier. It-s Kaina on my -bucket list- as silly as it sounds to create a friction fire with the bow drill. I may try it thus weekend.
reply
I haven-t tried this method or the bow drill but I think the bow drill looks a lot easier. It-s Kaina on my -bucket list- as silly as it sounds to create a friction fire with the bow drill. I may try it thus weekend.
reply
Brian
This looks arduous. I lack the ability to move my legs into that position, the patience & determination you obviously have & at 75 enough time left in my life. Congradulations, Brian nearing 76
reply
This looks arduous. I lack the ability to move my legs into that position, the patience & determination you obviously have & at 75 enough time left in my life. Congradulations, Brian nearing 76
reply
JIUJITSU2000
you rock! I've tried Mullen on yucca, Mullen on cedar. no coal. my hands get sore and blistered. I can do a bow drill fire, but need to work more on this. :-)
reply
you rock! I've tried Mullen on yucca, Mullen on cedar. no coal. my hands get sore and blistered. I can do a bow drill fire, but need to work more on this. :-)
reply
Add a review, comment
Other channel videos
 1:8:45