2D DNA Animation in PowerPoint Tutorial - The Teacher
FBTwitterReddit
video description
Rating: 4.0; Vote: 1
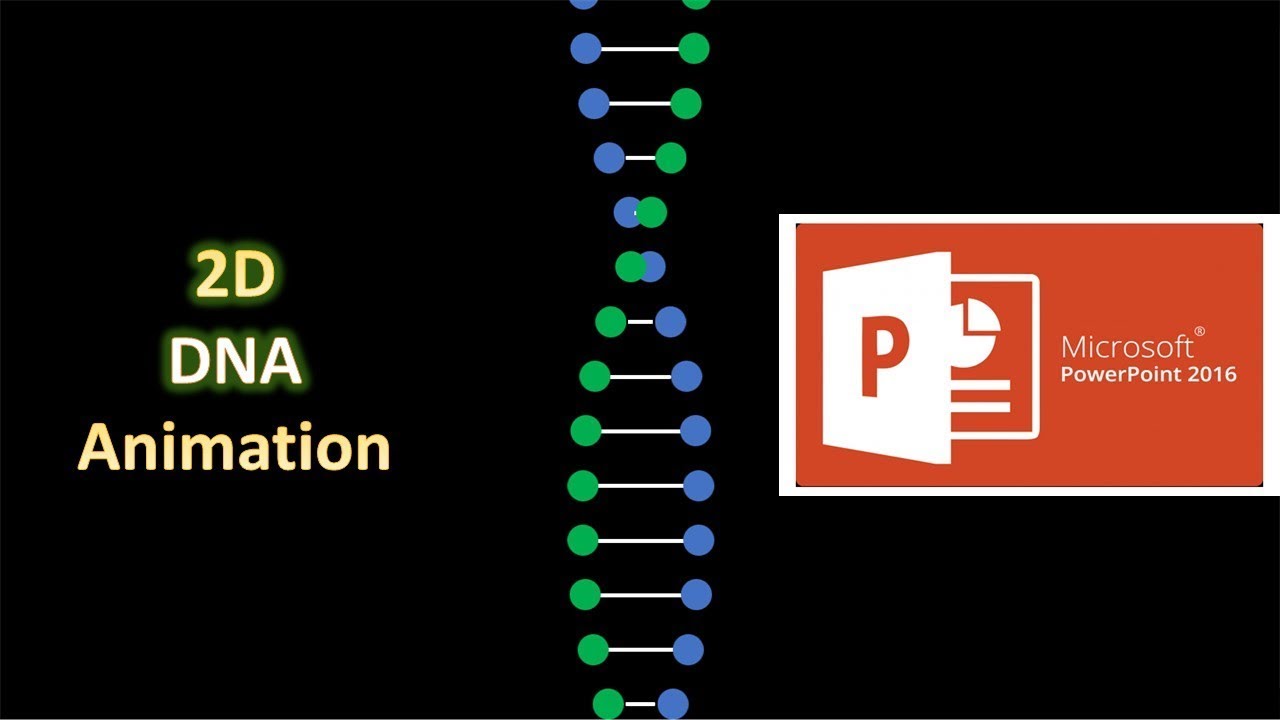
2D DNA Animation in PowerPoint Tutorial - The Teacher
In this Microsoft PowerPoint 2016 Tutorial, you will learn how to quickly create 2D DNA Animation using only 3 animation effects.
- Learn More and Download DNA Animation PowerPoint Presentation (PPT):
https://www.theteacherpoint.com/dna-animation-in-powerpoint-tutorial/
- About the DNA Animation
1. The first step is to draw an Oval; adjust the Size, and then Apply the Right Motion Path and adjust the length. Duration is about 1 Second with Default Smoothness, Auto Reverse and Repeat Until End of Slide.
2. Replicate the first oval (use CTRL+D to make duplicate) and then reverse the Motion Path Direction to Left. That saves time.
3. Draw a Line, change its Formatting and then apply the Grow / Shrink with shrink up to 10% with Auto Reverse and Default Smoothness, Repeat Until End of the Slide with a duration of half the amount of Motion Path i.e. 0.50 Seconds. If you want to slow down or speed up the animation then adjust the timings accordingly.
4. Replicate the first DNA String you created and animated and fill the slide with them.
5. Add Delay timing between each set of Animation which could be 0.10, 0.20, and so on.
Information also applies to the following versions:
PowerPoint 2007 / 2010 / 2013 / 2019 / Office 365
- Recommended Videos
3D DNA Animation Effect in PowerPoint 2016 / 2019 with Paint 3D Tutorial
https://youtu.be/uMw9sGofjuI
- Original Animation Inspiration
https://codepen.io/codeGeek_Abhi/pen/oVXeGb Date: 2022-03-31