Diagnosing An Intermittent Blower Motor Part II
video description
Date: 2020-08-05
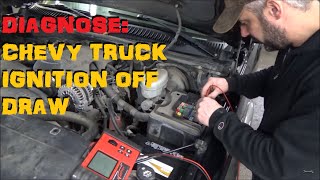
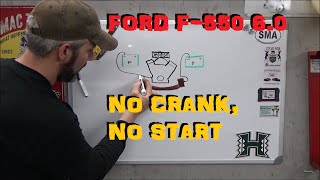
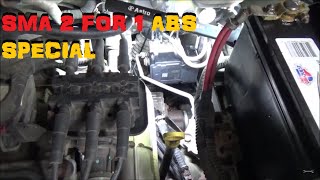
Related videos


Comments and reviews: 10
Jesse
You can find all kinds of generic brushes on McMaster-Carr, that place is amazing if you really need something and have no clue where to get it, they have just about every size nuts bolt seal gasket hose clamp bearing and brush you could ever ask for.
That being said I'm not really sure how you'd find the right sized brush, you could probably get close and guesstimate and it'd work alright as long as the dimensions were close. I would say definitely not worth the trouble or potential that the replacement would be missing a key or groove etc that held the brush in place, but on the other hand sometimes you need a brush for something you can't find that isn't made anymore.
reply
Larry
That's a pretty cool way to analyze a motors performance. That little scope is the smallest DSO I've seen! Not having a portable scope my method for diagnosing this type of intermittency would be to run a set of wires from the blower and plug them into my micronta (Radio Shack) analog multimeter set to dc volts and set on the passenger seat. No fluctuation in supply voltage then the motor is toast.
That said believe me I like the more scientific approach for troubleshooting electronics and I need a smaller, more portable DSO. I'm not sure if you have an electronics background Eric but your basic knowledge of electronics is pretty impressive!
reply
Yvon
hi love ur vids. keep up the great work you do. i do have a question for you if i may. i have a 2003 dodge dakota with the 4. 7 4x4 and am haveing issues with my heater. new motor, and it works great but now i cant control the heat and it is stuck on defrost only. ive seen vids on some dodge products where as the wire in the back came un-plugged and shjowed how to remove that part of the dash and re-plug but on mine id does not just pop off. do you have any tips. ive been searching through ur files but have not found it yet(help. lol. thanks in advance. p.
reply
joseph
My old Mercedes (OK Scotty Kilmer cool your jets) used to cut the blower fan when I took a right turn. I live in Scotland so cooling is rarely needed but the lack of circulating warm air was sorely missed. It turned out that the fan motor brushes were sticking in their guides and when I took a right turn the transfer of weight of the armature caused it to shift enough on its bearings to disconnected the brushes from the commutator. Stripped out the motor, sprayed WD40 to lubricate the guides and it worked like a charm and has done so for over ten years.
reply
James
Hey Mr Eric, I have a video that you might consider doing. Example, I own 2002 Ford F-150 King Ranch and I would like to know how to change the wiring for the factory fog lights. They come on only when headlights are on and in the low beam setting. I'd like to wire them to come on with factory switch, but without the headlights having to be on, nor having them cancel out when you trigger the high beam on. Thanks and you were amazing with the video with Marie giving Mrs Amber the Ford Fusion. God bless you and your family this holiday season.
reply
ww_big_al
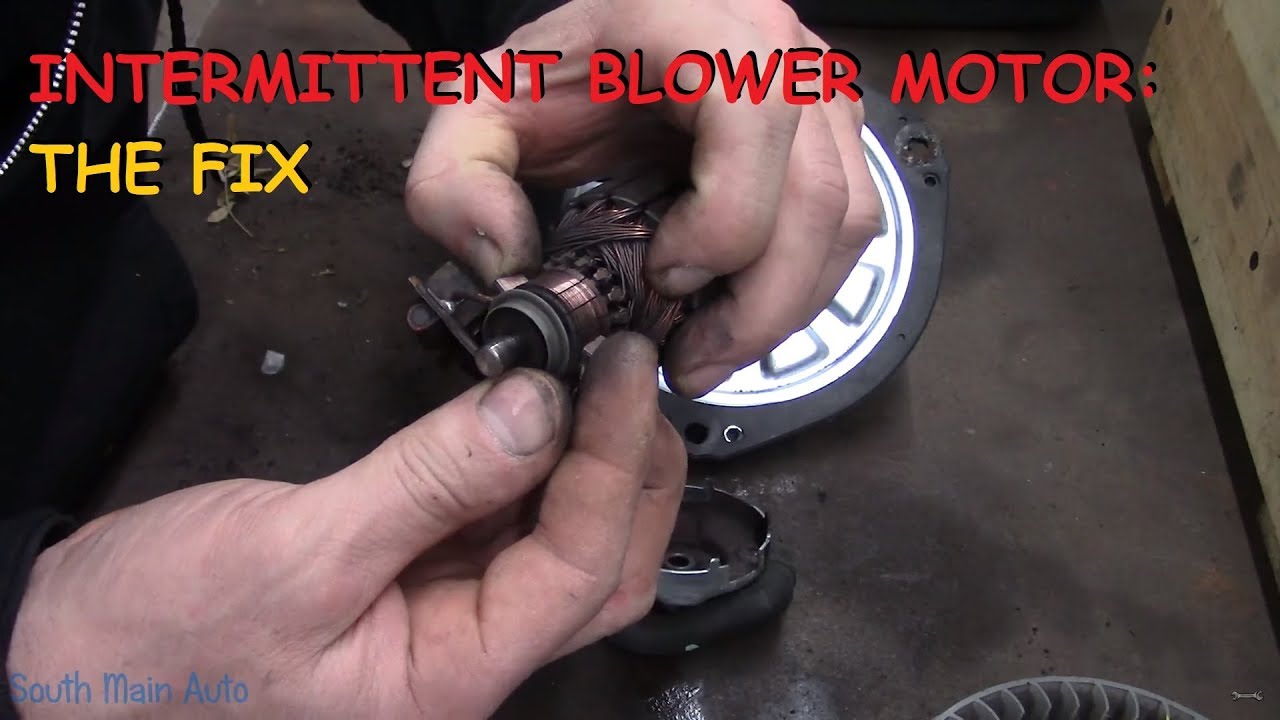
Very good Eric. Never thought of troubleshooting a motor by current monitoring. As for your ripples in the good motor; When the brushes only touch one copper piece, current only flows through one winding. When the brush bridges the commutator gap the current flow increases because it is now flowing through 2 wingdings. Hence your ripple.
As with others you have taught me a lot with your videos. Please keep up the good work. Merry Christmas to you and the family.
reply
Dustin
You mite already know this but with there is a quick setting to set up the uscope and the amp clamp. Under the menu choose presets, highlight amp, left or right click till you see low amp in top right hand corner, press OK and hold till it loads. If successful it will say 100: 1A in top left hand beside battery. That will have it set up for the 20A (100mV/A) scale. That way the amps will read right. Love the uscope!
reply
throttle
suddenly recalls hi-pot testing armatures after turning them on the combo lathe that removed excess epoxy sizing the rotor and commutator.
get leaky winding and ZAPPPPP with HV, it shocked me the whole time worked that area lmao. tales of the motor plant circa 90's, I was the universal fella they could quickly train for any job and run with it, except the motor frame painting, which I really sucked at: )
reply
ricky
As someone in the industry I appreciate your videos, I learn something from videos on even the simplest of jobs and I thank you for that. but Ive gotta ask, It seems like you run a fairly busy shop. How do you manage to find the time to make so many detailed videos while running a business, do your customers pay for this content to some extent?
reply
Mike
VERY NICE! GREAT VIDEO! Scopes are amazing tools!
Mr. O, I saw the video of the Winning 5000. 00, the car and all that was done to it, including Miss Marie's contribution to it. FANTASTIC!
I WISH YOU ALL A HAPPY, WONDERFUL, JOYOUS, MERRY CHRISTMAS AND A WONDERFUL NEW YEAR! !
reply
VERY NICE! GREAT VIDEO! Scopes are amazing tools!
Mr. O, I saw the video of the Winning 5000. 00, the car and all that was done to it, including Miss Marie's contribution to it. FANTASTIC!
I WISH YOU ALL A HAPPY, WONDERFUL, JOYOUS, MERRY CHRISTMAS AND A WONDERFUL NEW YEAR! !
reply
Add a review, comment
Other channel videos